Start with the finished basket in mind
Before you buy anything, picture the completed gift basket: the occasion it celebrates, where it will sit when opened, and who will receive it. That mental image—size, theme, and overall feel—keeps choices cohesive and prevents unnecessary items that clutter the design. The easy rule: everything in the basket should support that single idea.
Choose a clear theme and purpose
The theme determines what to include and how to present it. Common, reliable themes are self-care (hand creams, candle, face mask), gourmet treats (jams, crackers, chocolate), home cozy (throw, mug, candle), celebration (balloons, confetti popper, small bottle of bubbly), baby or new-home. Narrower themes—“morning coffee ritual” or “spa at home”—feel more deliberate than “a bit of everything.”
Pick the right container and size
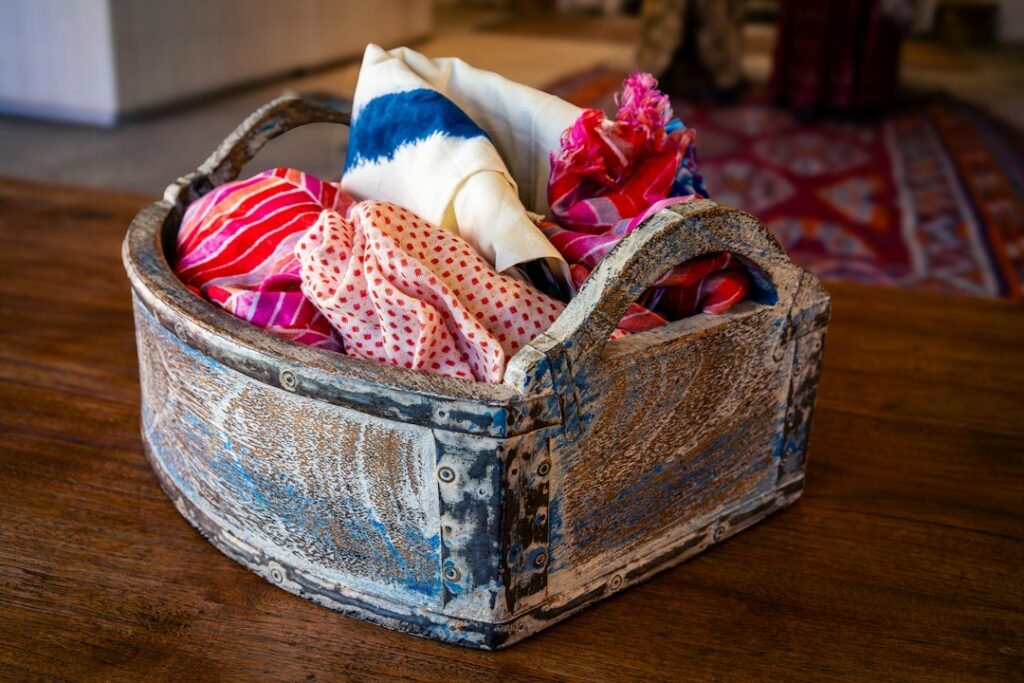
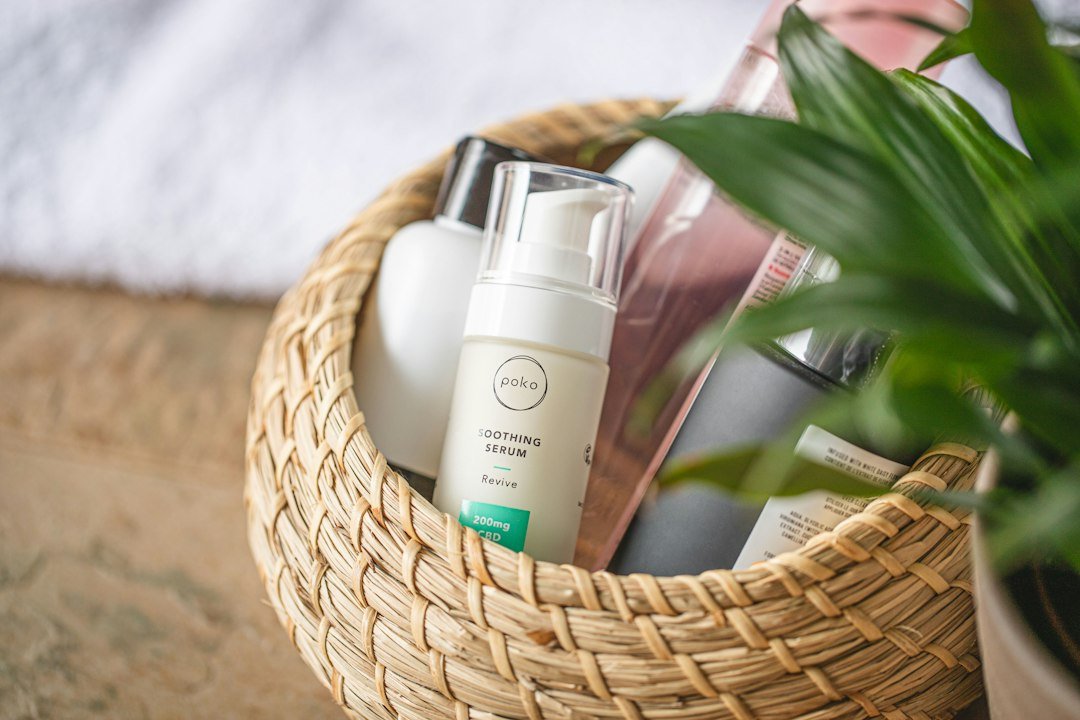
Match container to theme and scale. A shallow wicker tray suits food and flat items; a tall handled basket works for bottles and taller goods; a decorative box or fabric tote is ideal for delicate items like scarves or jewelry. Leave about 20–30% empty space so items aren’t overcrowded; you can fill gaps with shredded paper, cloth napkins or tissue.
Select 4–7 complementary items (and why)
A pleasing basket has one focal item, one supporting item, and several small accents.
- Focal item: the star (e.g., candle, luxury hand cream set, bottle of wine).
- Supporting item: something that reinforces the theme (e.g., scented soap, biscotti).
- Accents: small extras to add delight and volume (tea sachets, chocolate, a wooden spoon, a mini notebook).
Keep sizes varied—mix heights, shapes and textures to create visual interest. For practical gifting, include at least one consumable the recipient can use immediately (snack, bath salt) so the basket becomes memorable, not clutter.
Arrange for balance, stability and visibility
Arrange with a simple logic: tallest items at the back (or center if viewable from all sides), mid-height in front, smallest items at the edges. Use a bit of double-sided tape or removable museum putty on flat-bottomed items to prevent shifting during transport.
- Build a base: line with tissue or crinkle filler to raise low items.
- Create tiers: use small boxes or folded cloth beneath items to vary heights.
- Group similar items: a trio of small jars looks intentional; scattered identical items look accidental.
Wrap and secure for presentation
Wrapping protects the arrangement and makes the gift feel finished. Clear cellophane keeps the basket visible; fabric wrap (furoshiki-style) feels upscale and reusable. If using cellophane:
- Place basket in the center of a generous cellophane square, gather the sides up and keep taut so the arrangement reads clearly.
- Tie with ribbon at the neck and tuck a gift tag underneath the knot.
- For fragile items, consider soft padding between the item and the wrap to avoid pressure marks.
Personalize without over-customizing
A short handwritten note or a small item that reflects the recipient’s hobby (seed packets for a gardener, a pair of tea samples for a reader) makes a basket feel curated. But avoid too many niche items unless you’re certain—they can overwhelm practical items and may not be used.
Packaging and delivery considerations
If the basket will be transported or mailed, prioritize durability over appearance: use a sturdier container (box or tote), cushion items, and clearly mark “fragile.” If you’re hand-delivering, think about how it will be carried; switch to a basket with handles or attach a carrying strap.
When things don’t look right: quick fixes
Problem: basket looks flat. Solution: raise items with a folded towel or small box so heights vary.
Problem: too crowded. Remove one or two accents—simplicity reads as quality.
Problem: items shift in transit. Add padding, use tape/putty for secure bases, and consider a box for shipping.
Product recommendation for an easy start
If you want a ready-made, high-quality option to anchor a themed basket, choose a versatile curated set designed to suit many occasions.
Small finishing details that make a difference
Choose a ribbon that complements the basket color—satin for elegance, burlap for rustic. Attach a clear label describing contents if there are food/allergen issues. For multi-item baskets that include perishable goods, add a “best-by” note or consume-by suggestion.
Related reading
For more ideas on themed gift sets and specific item choices, see How to Choose Beauty Gift Sets and How to Choose a Fragrance Gift.
- Confirm occasion and recipient preferences before shopping.
- Choose a container that fits the focal item and transport needs.
- Select one focal item, one supporting item, and 2–4 accents.
- Use filler and tiers to create visual height and stability.
- Secure items for transport with padding or putty.
- Wrap neatly and attach a personalized tag with any storage/care notes.
A beautiful gift basket is less about quantity and more about cohesion: pick a clear theme, a fitting container, and 4–7 complementary items arranged for balance and safety. Little personal touches and solid wrapping complete the experience.
How do I choose the right size basket?
Match basket size to your focal item plus 20–30% breathing room; if in doubt, pick a slightly larger container and use filler to avoid a cramped look.
What are safe filler materials?
Shredded kraft paper, tissue paper, soft cloth napkins, or crinkle paper are safe and attractive; avoid newspaper that transfers ink.
Can I include homemade food in a gift basket?
Yes—confirm freshness and label ingredients/allergens. For longer delivery, choose shelf-stable items or refrigerate perishable goods until handover.
How far in advance can I prepare a basket?
Non-perishable baskets can be assembled days ahead; for perishable or scented items, assemble the same day or the evening before to preserve freshness and fragrance.
What’s an elegant non-food focal item?
A quality candle, luxe hand cream set, or a soft throw are elegant focal items that suit many occasions and are easy to style.